
 |
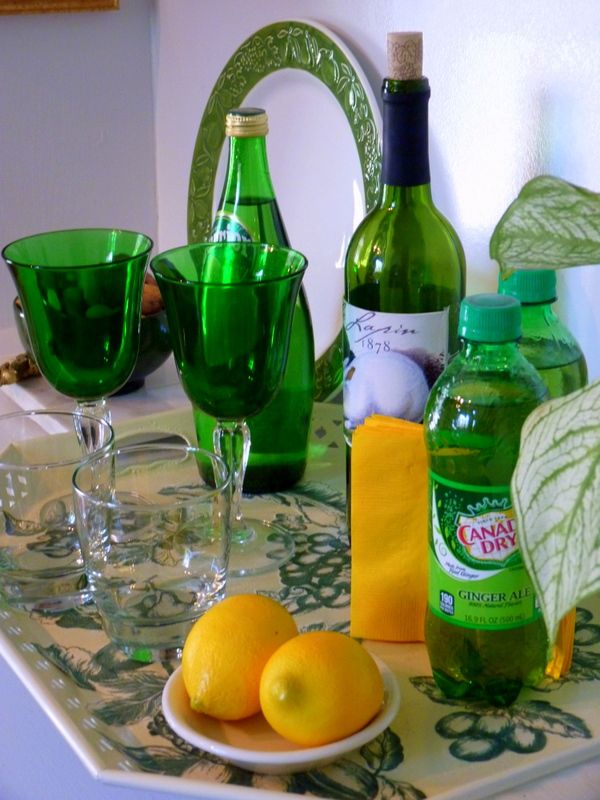
| I used my DIY autumn-themed tray to anchor a group of props suggesting a small beverage center. To be safe, I stage with empty liquor bottles or bottles filled with water. |
One prop that’s indispensable to home staging is the simple tray. It corrals little things and adds a subtle layer to tabletop decorating.
Whether it's round or square, flat or with a curvy lip, vintage or brand new, wood or rattan, a tray can make a bunch of ordinary stuff look important and planned. It's an automatic de-clutterer.
I decided to makeover a derelict metal tray I’ve owned forever. It would be perfect for autumn entertaining or staging in any room -- if only it looked presentable.
This fall I’m taking a stand against the usual Halloween colors. I’ve centered my fall decorating around greens. I hunted through my fabrics to see what I had that was both green and harvest-reminiscent. Bingo – a green and cream joie de vivre print that included fruit and vegetable images.
The fabric lived a previous life as a DIY shower curtain from a house I staged eight years ago. My first step was to cut out only the images I wanted. I didn’t want ladies and gents dancing in their fancy clothes. I didn’t want the scrolls and birds and flowers. I wanted fruits and vegetables!
Knowing I had enough of the fabric scraps to make a collage, I then sanded and primed the tray. I used an orbital sander for most of it, but an orbital doesn’t get into corners, so I hand sanded those areas. It’s not perfect, and it still has a hole in the bottom, but good enough!
 |
| What I started with: the tray and the fabric. I 'm sure that as a young thing, my toleware tray was quite a sight -- strong and stylish with a black base coat decorated with hand-painted flowers. |
 |
| These are the images I liked best in the fabric I was re-purposing. I thought they looked like traditional fruits of autumn. |
 |
| This is how the tray looked after I gave it a good sanding to remove corrosion and old paint. Many of you would like it to stay this way. But I think it's a bit too shabby for home staging. |
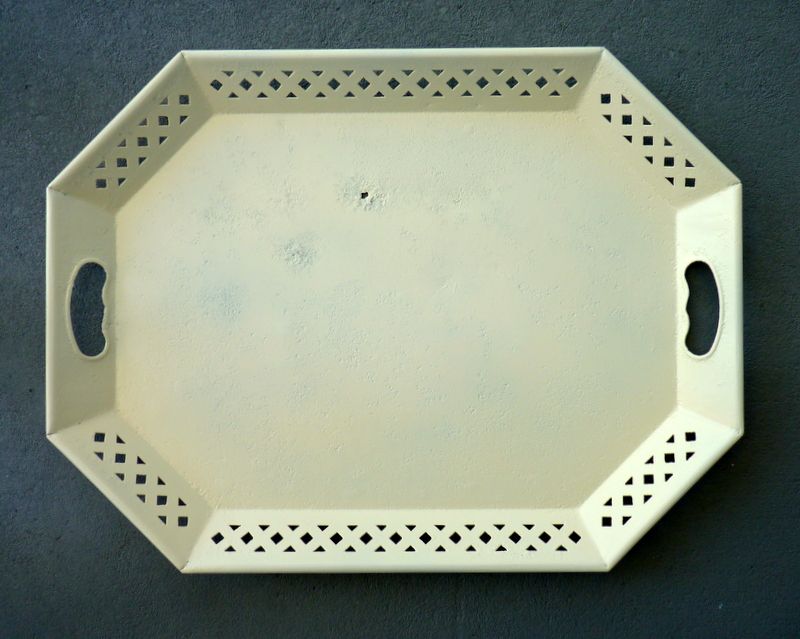 |
| After a coat or two of spray paint, things started to look better. The hole didn't bother me. I knew it could be covered with a fabric scrap. |
I sprayed a couple of coats of cream colored Rustoleum paint that matched the fabric background. Then I trimmed the fabric scraps and arranged them to fill the tray. Once I thought the arrangement looked okay, I used spray adhesive to anchor them, making sure the edges were glued down well.
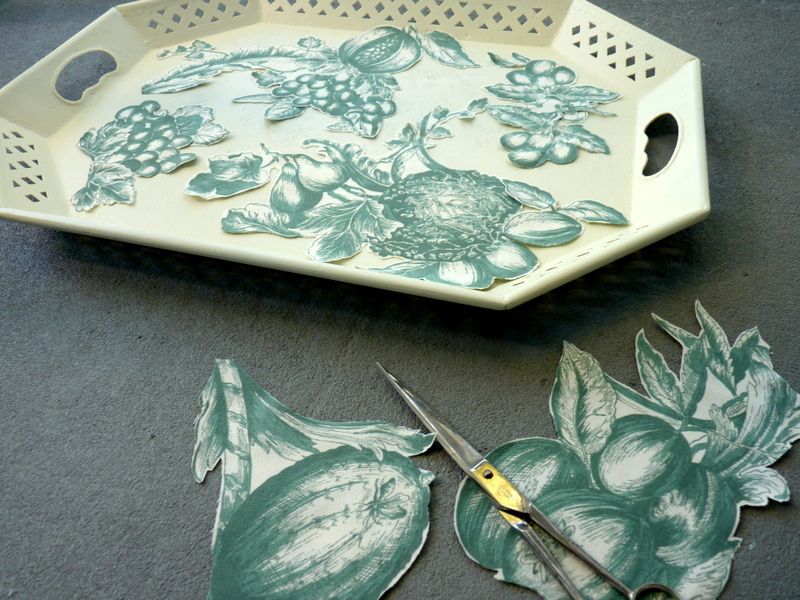 |
As in decoupage work, sharp scissors will give you good results. I fiddled with the arrangement until I liked it, overlapping some of the fabric pieces. |
 |
| The cut metal edge gives this tray a little extra flair. It's the perfect size for staging a dry bar or small beverage station in a living or dining room, or on a porch. |
When it comes to trays, a gal can’t have too many, especially if she is staging a home.
Want more ideas and inspiration for staging your home? Just download my $5 eBook, DIY Home Staging Tips to Sell Your Home Fast and for Top Dollar. Don’t stage alone, when I can hold your hand and make your home staging easier and more effective.


No comments:
Post a Comment