
 |
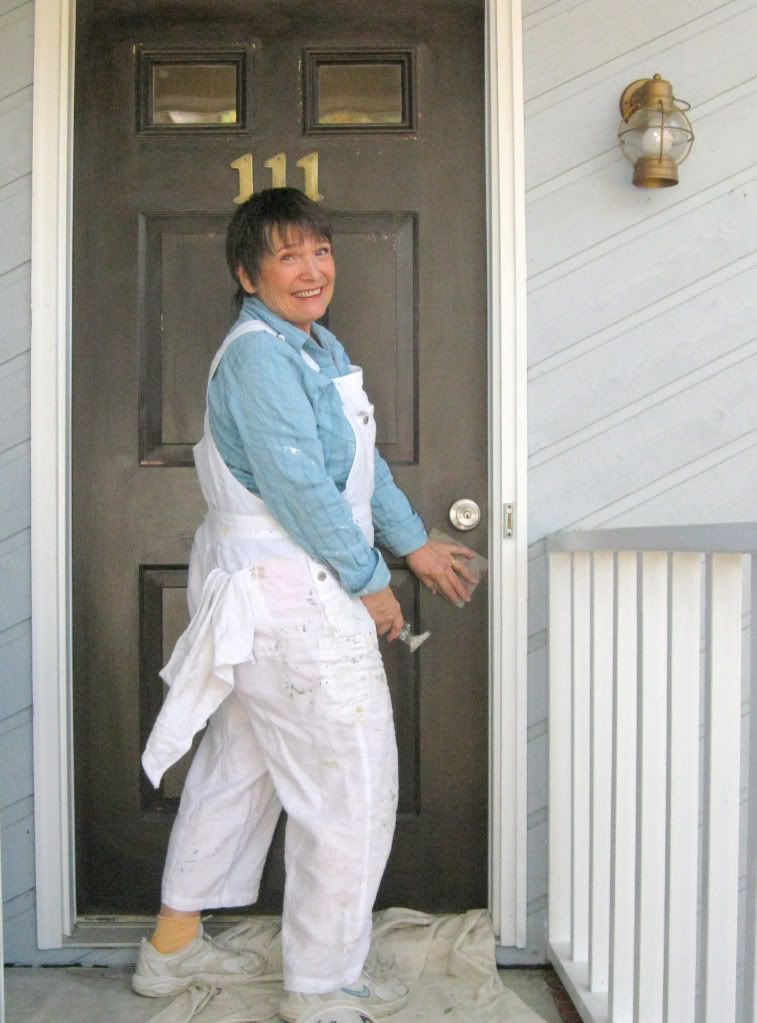
| Yes, you can paint your own front door, and do it perfectly! |
What makes this a girl's guide rather than a uni-gender guide?
Well, you'll paint the door in place, so there's no need to pull hinge pins and lug the door somewhere to put on sawhorses.
And like a real lady, you'll get beautiful results without making a mess.
You'll do it the right way. My way.
If that's not female thinking, what is?
Do not paint a door the way most HGTV hosts paint a door, with it closed, and starting in the middle. So wrong. I've painted many doors, both interior, and exterior. These are my best tips.
Test your door. Even before you decide on a color and go to buy your paint, you'll need to know if your door was painted the last time with oil paint or latex paint.
If you put latex paint on top of glossy oil paint, it will not adhere, and it can begin soon to flake off.
Testing is simple. Dip the corner of a rag in rubbing alcohol. Rub the moistened rag on the paint surface. If any paint comes off, it is latex paint. If no paint comes off, it is oil paint. If you have a door painted with oil paint, you will have to apply a bonding primer, or else use oil again. You do not want to use oil, and in many states, you cannot even buy oil paint anymore. Talk to your paint supplier about a good bonding primer.
Timing is everything. Choose a day that's good for painting. Since you'll have to keep your door open, it's best if it's not too hot or cold. If your door is a metal one, it's especially important that you not paint on a day so hot that the metal is hot, because your paint will dry too fast, making it difficult to get good results. A windy day isn't good either because the air is full of junk.
You need a day when it's okay to leave the door ajar for a few hours. Start when you have more than an hour of undisturbed time because you can't walk away mid-project. If you start late in the day, you want a two-day window of good weather.
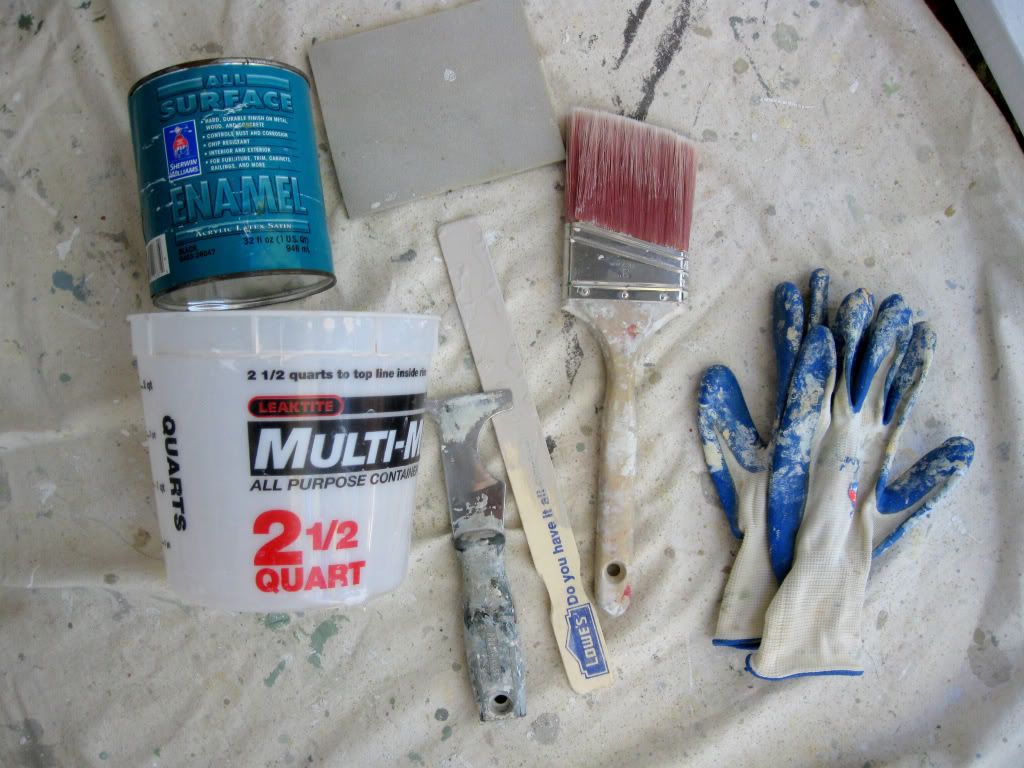
Have a plan. Read these instructions. That's the girly way. Gather your supplies. Here's the list:
- Work clothes and gloves, because you're bound to get paint on you.
- Fine sandpaper,about the same grit as one of your emery boards.
- Clean rag, damp on one end, dry on the other.
- Broom and dustpan, because debris in wet paint is problematic.
- Dropcloth, see my thoughts on dropcloths here.
- One quart latex exterior paint, either semi gloss or satin finish, but you'll use less than half of that amount, in case you want to use something you already have on hand.
- Stir stick
- Clean work bucket (empty 1-gallon paint can or a plastic bucket)
- Paint brush, a good one, 2 to 3 inches wide
- Masking tape (optional)
- Step stool if you are under 5'5"
First step: Prep. With the door closed (just like on television!), sand the entire surface. Open the door, and sand the hinged edge and around the perimeter where you couldn't sand with the door closed. Fine grit sandpaper is good for most doors, but if there are rough spots or drips, or lots of trash in the last painter's paint, use a medium grit to start with.
Place something immovable behind the door so you can paint it in an open position without it moving or fighting you. Use something heavy, but soft enough that it won't scratch the interior door surface.
Sweep the floor all around the door and get rid of all dust and loose stuff. Lay a dropcloth under the door and cover up or move away anything that can be damaged by paint, like your welcome mat, flower pots, porch floor, brick steps, handrail, or furniture. Use the damp rag to wipe down the surface of the door.
If you see mildew on the door, wash it with a 50/50 solution of bleach and water, then wipe with a clean damp cloth. Make sure the door is dry everywhere before continuing.
 |
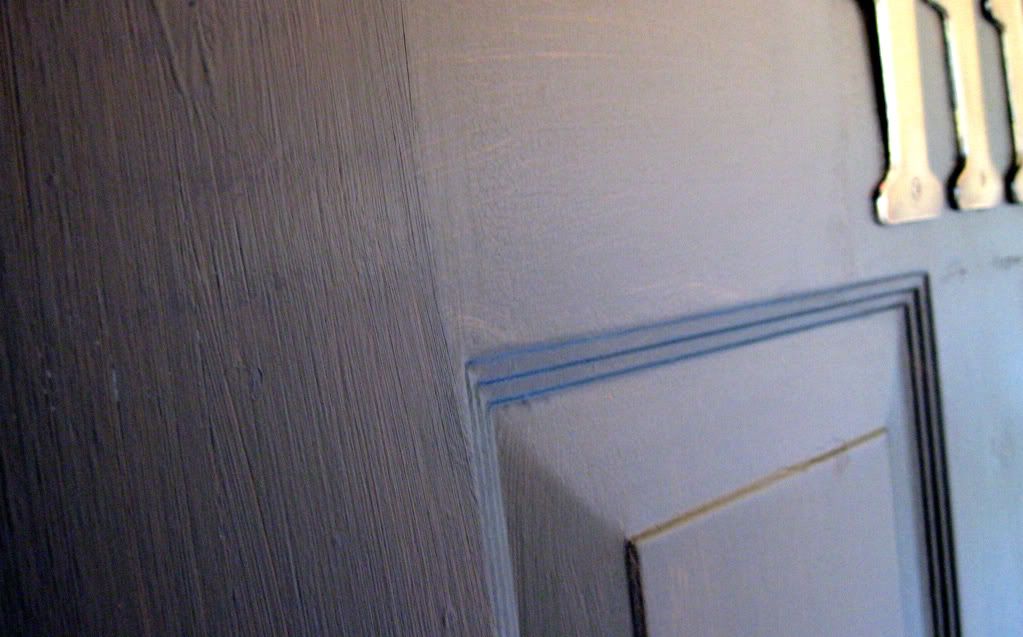
| The edge: End the paint in a grove for a straight line. |
Pop the lid. Open the paint, and carefully stir it with the stir stick. Pour all of it into the work bucket and stir again to distribute any solids. Wipe the lip of the paint can with your brush, and use your rag to clean off any paint that dripped down the side, so you'll always have a legible label on your paint can. Replace the lid on the can and get it out of your way so you don't back up to admire your work and trip on it.
 |
| Feather out strokes for smooth finish. when cutting in. |
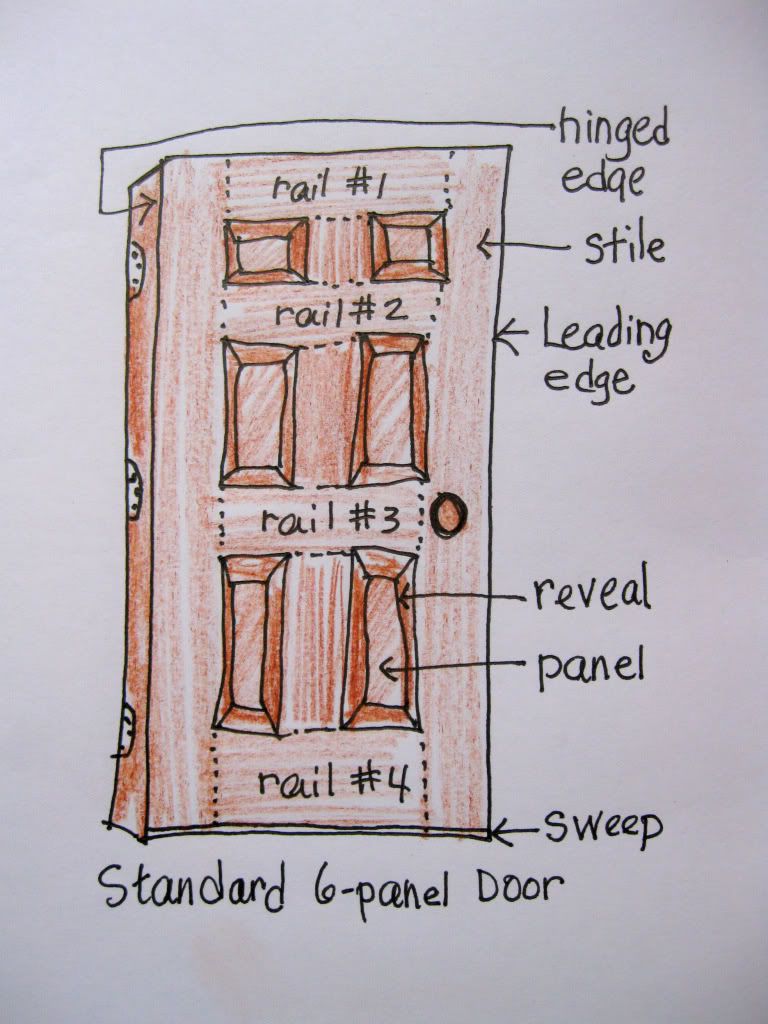
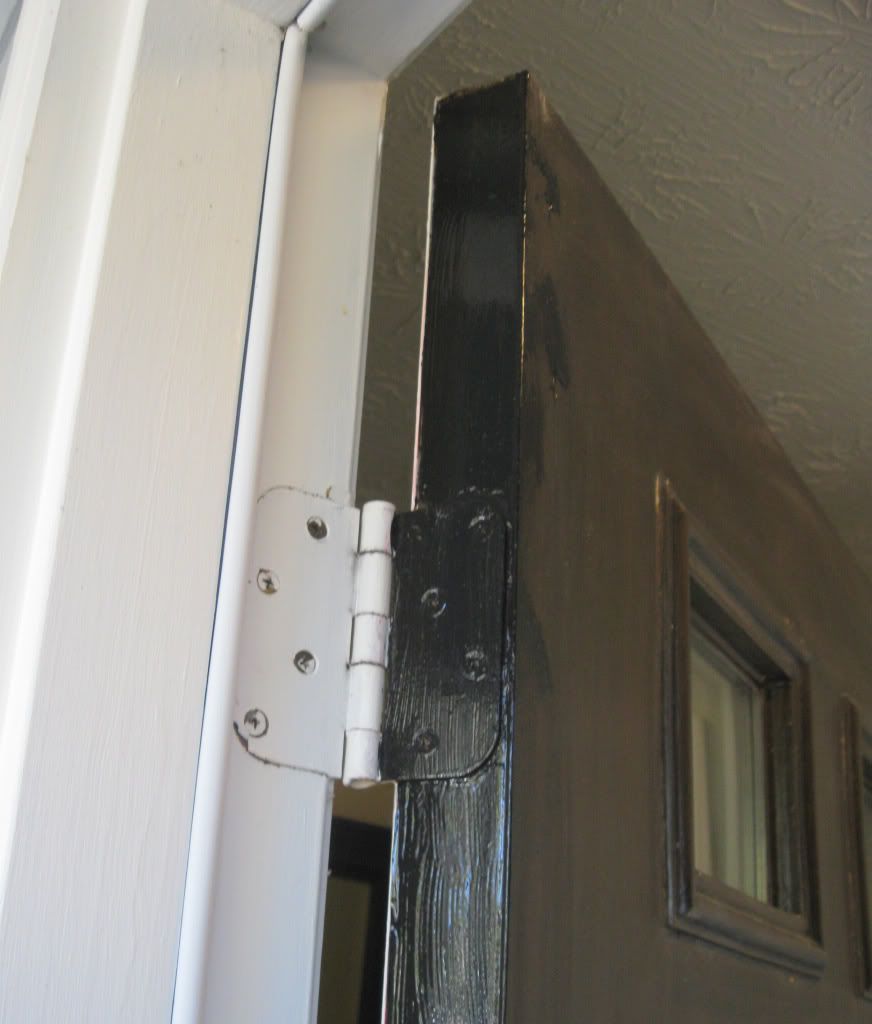
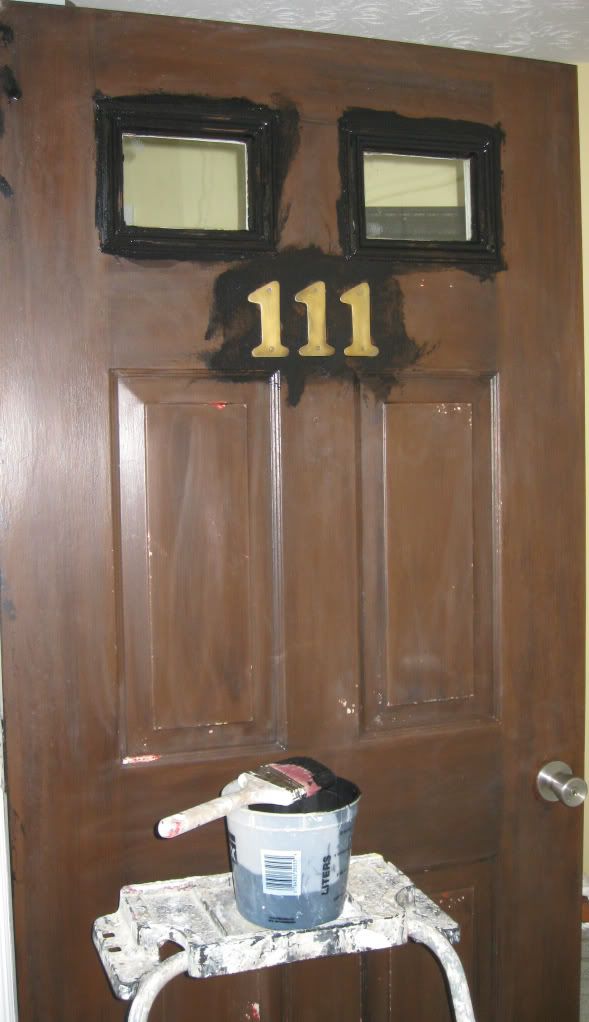
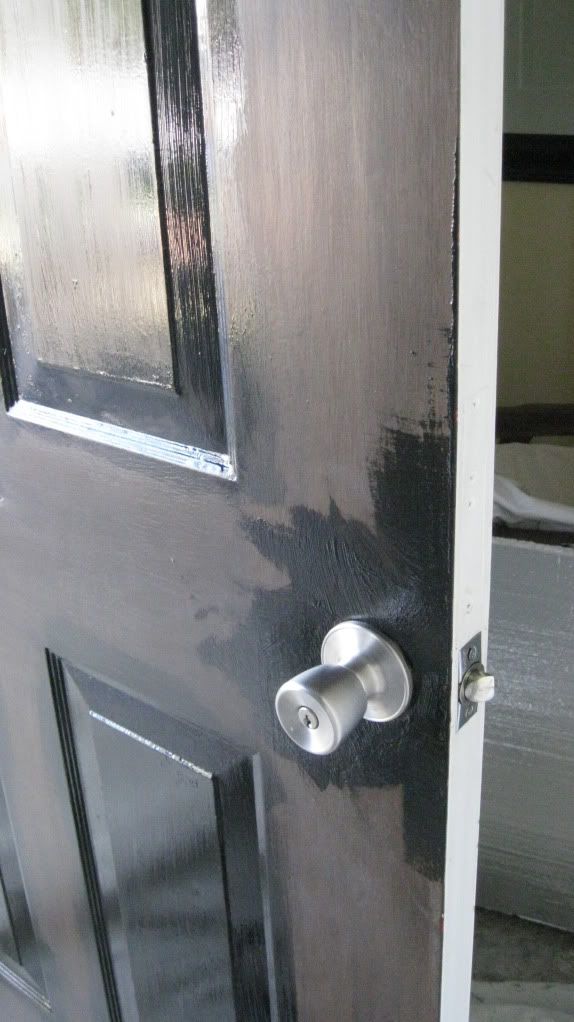
Edge it. Paint the edge first. The rule is, when a door is painted different colors on two sides, each of the side edges gets a different color. The hinged edge gets the outside color when the door swings in. If your door swings out (the way storm doors do) the leading edge -- with the knob -- gets the exterior color.
The door I'm painting had painted hinges, so I had to paint them again. If your hinges are still metal, paint around them, or mask them with tape. Keep a clean line on the edge so paint doesn't wrap around to the inside of the door. Use the damp edge of your rag to clean any paint that goes where it shouldn't.
Next I painted around the house numerals, glass, and knob. If you masked any of these things, you can go to the next step.
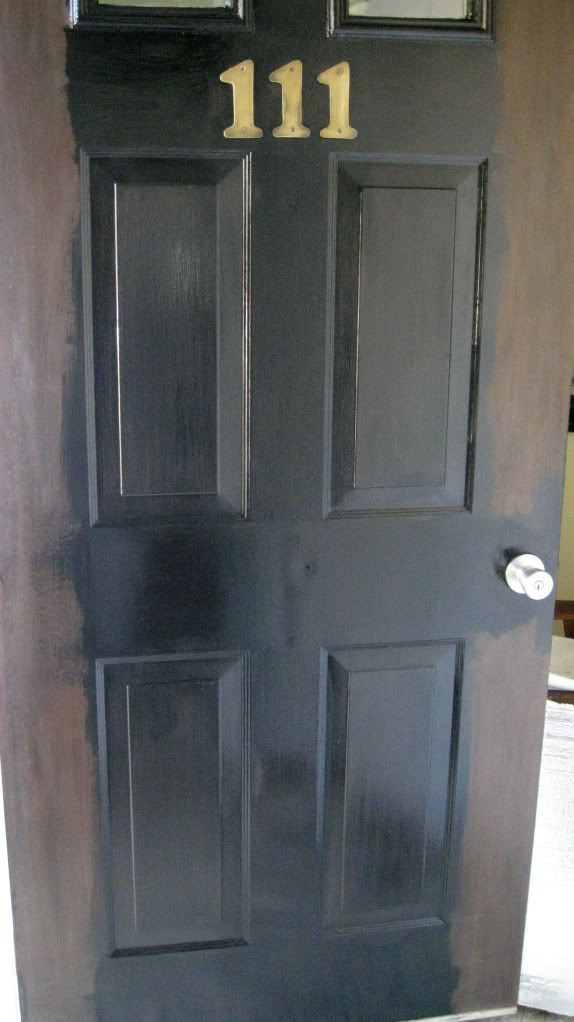
Do reveals and panels. If your door has raised panels, paint the reveals next. Then paint the panels themselves. Doublecheck that no paint is dripping down the corners of the reveals.
Paint cross pieces. Next paint the rails, starting with the top one, continuing to rail #2, then rail #3 which includes painting around the knob, and finally #4 at the bottom.
When you paint the bottom rail, keep paint off the flexible rubber sweep, unless it was painted already by the last painter, in which case you might as well paint it again.
Paint up and down. Finally paint the stiles. If you can manage it, make the final brush strokes on the two side stiles go from top to bottom in one stroke. Start with the stile on the hinged side, and finish with the knob side, keeping a clean, straight edge because that's the edge you'll see most often.
 |
| Paint the two side stiles last. |
To get a clean line on the edge of the door, lightly load the brush with paint, and lay it crosswise at the edge, patting the paint lightly as though your were applying blush, or frosting a delicious chocolate birthday cake (fantasizing here).
This way, you're letting the natural edge of the door make painting a straight line easy. Then, make a vertical stroke to smooth out the paint surface.
 |
| The final up-and-down strokes should cover the ends of the crosswise strokes |
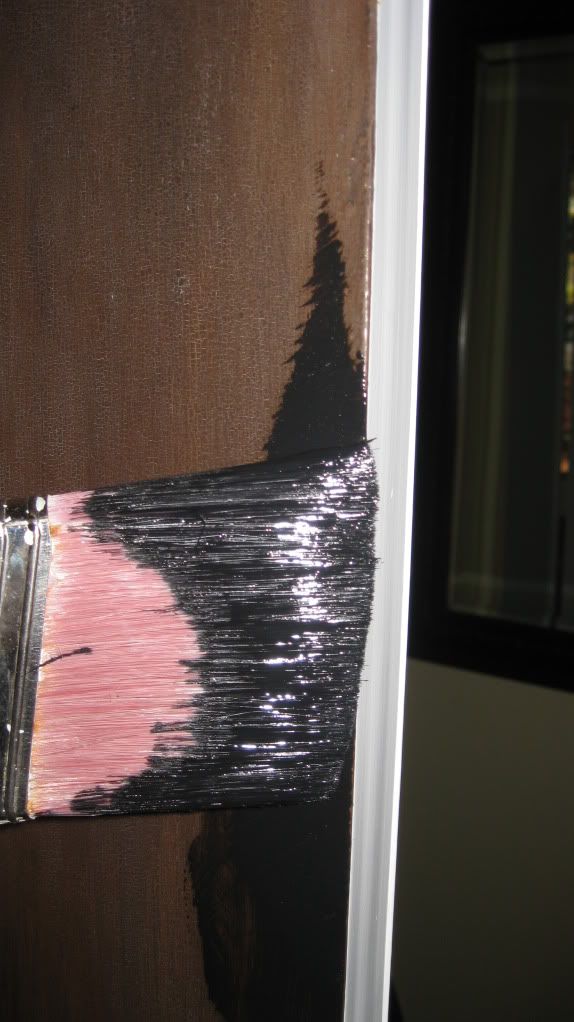 |
| Start the edge strokes like you're frosting a cake. |
Latex paint dries quickly, so depending on the temperature of the day and of the door, you may not be able to do-over brush strokes. But you can dab away drips.
What about rollers? I often use a small roller to paint doors because it leaves a stippled surface that usually levels out to give you a uniform surface with no brush strokes. Brush strokes aren't a bad sign, as long as they are smooth and even.
I wrote about the Whiz roller system. If your door is one large flat surface, I recommend using the small roller after first cutting in the tricky parts with a brush.
Pick up time. Wait until the paint is dry to remove the dropcloth.
Meanwhile, pour your paint back in the original paint can and wipe the lip and clean off the label if necessary. Aren't we neat?
 |
| If you roll, you could roll at this point. |
Okay. Use a brush that has a tapered tip. I'm not talking about an angled brush, although that would be fine to use. A tapered tip means the bristles will end gradually, like a layered haircut, not bluntly. Tapering is what gives you good control of the paint.
Wash your brush well, even if you will be using it the next day. Use warm water and a little dish detergent to help dissolve all the paint on the brush.
 |
Drying: Here is where a storm door helps. If bugs fly into the paint, let them die and pick them out of the dried finish. |
I always switch to latex gloves for this operation because whatever chemicals are in paint to make it dry fast, are hard on a girl's hands. If you got an early start and you are putting two coats on the door in one day, you could wrap your brush bristles well in plastic wrap until it's time for the second coat.
The second coat always goes faster, because the prep work is done and the surface is smoother.
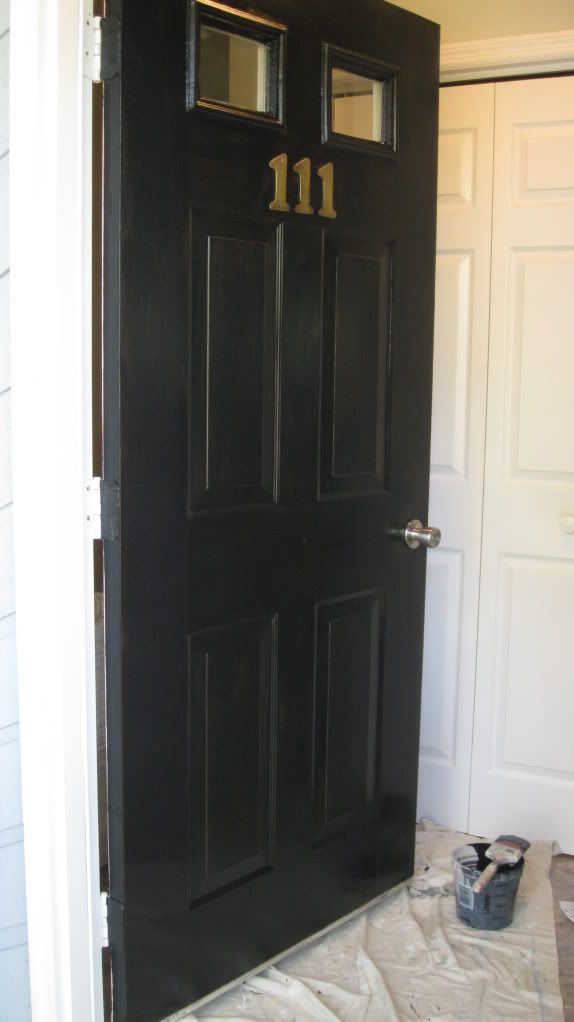
Watch paint dry. The longer you can leave the door slightly ajar, the better. Closing it too soon could off-set the paint onto your trim or gasket, and that's never a good thing. But isn't your newly painted door pretty?
Since your entrance is such an important part of curb appeal, painting a front door is something every gal should know how to do.
Order my $5 eBook, DIY Home Staging Tips to Sell Your Home Fast and for Top Dollar, for more helpful tips and techniques to make your DIY home staging effective and easy.


No comments:
Post a Comment