
Need a seasonal decor item that's not pricey but looks fancy-schmnancy? Think DIY topiaries. Making your own is easy! I'm kind of a topiary nut. I'm fascinated by the big dose of style one little topiary adds to a room, a garden, a mantel, or a tabletop. And when there's a pair of topiaries, I'm swooning. 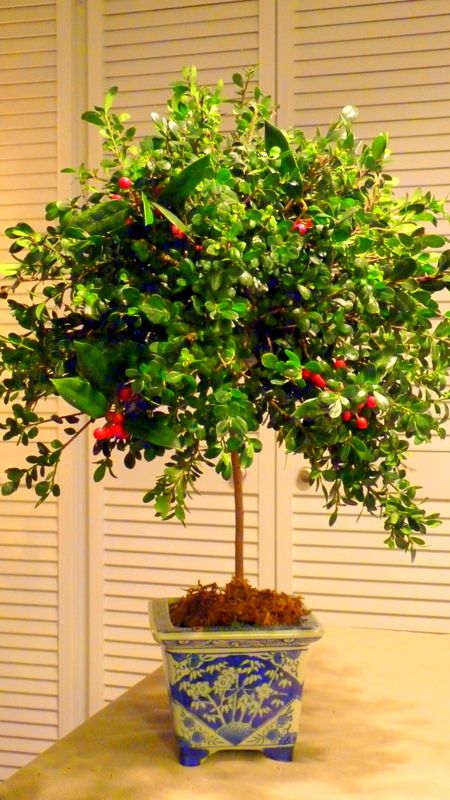 You can make a topiary this attractive to use as a staging prop, in an hour. I'll show you how. Topiaries are perfect home staging props. They look fresh, and they look tidy -- just the impression you want your whole home to have. Technically, topiaries are plants that are shaped by careful pruning over time, but they can be artificial as well, and crafted from silk or real leaves, flowers, or fruits. I love the rosemary topiaries we see in garden centers every December. They have the added bonus of fragrance, and they are so easy to decorate like miniature Christmas trees, just right for a dining table centerpiece in the staged home. A topiary can be formal, whimsical, rustic, glitzy, shabby chic, or homey. It all depends on the container and the shape of the plant. I'm partial to topiaries with a visible central stem, but I'm smitten with cone shapes and spirals as well. What's not to love? |
 |
| Pyramid topiaries can be fashioned from cones of floral foam or cardboard, using all kinds of materials, from candies to cranberries. Photo: Askmissa.com. |
 |
| Even if of the greenery is fake, if the trunk or stem of a topiary is real, the effect is more natural. Weathered pots help create a sense of age. Photo: Ballad Designs. |
 |
| A rosemary plant makes a beautiful and fragrant topiary that can be planted outdoors in early spring. Photo: Meredith.com |
Although topiaries are decorative all year long, they're especially popular at holiday time. Real greenery or fake, they give us DIYers an opportunity to gussy things up without much work. Even those of us with no floral arranging skill can make festive topiaries suitable for home staging.
Make Your Own Topiary
Today I made a pair of topiaries. Watch how simple this is. Here is what you'll need:
- A container. Almost any vessel will do -- small buckets, clay pots, vases, pitchers, ceramic planters, wooden boxes, metal wastebaskets, wicker baskets, or even cloth wrapped around plastic pots.
- Floral foam, enough to fill the container and make the form for the greenery to stick into.
- Sharp knife to cut the foam.
- Greenery. If you can prune your own shubbery, that's ideal. Some evergreen clippings like boxwood, cedar, pine, spruce, fir, rosemary, mountain laurel, and euonymous manage to stay fairly green for a month without water. If you can't get free greenery, there's always the florist or garden center. Or, use silk greenery.
- A stick for the stem or "trunk." If you don't have access to natural branches, craft stores carry suitable sticks. You can use a dowel, painted brown, black or gold, or a plain bamboo stick.
- Floral moss, also called sheet moss, not spaghnum.
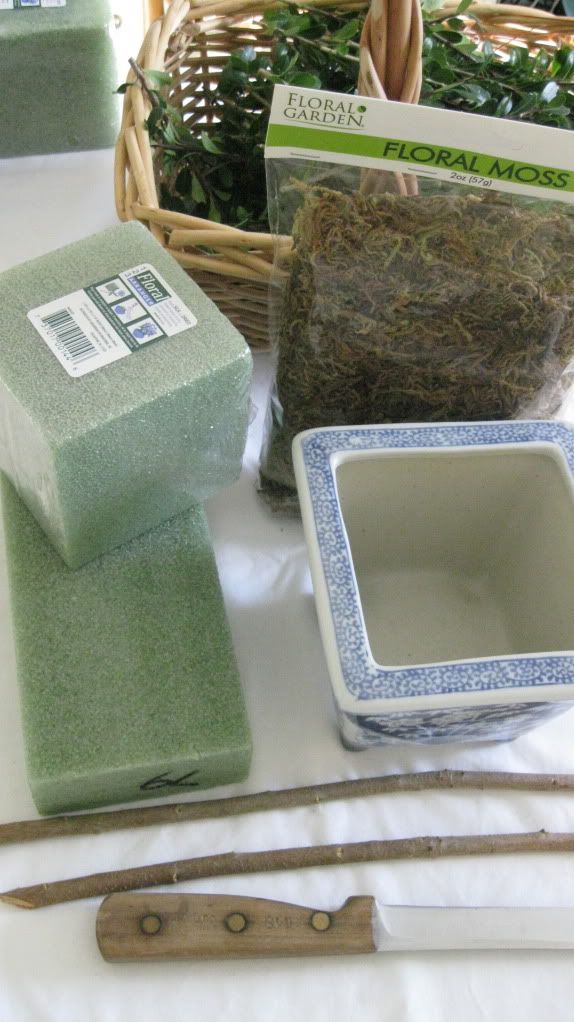 |
| What you'll need. |
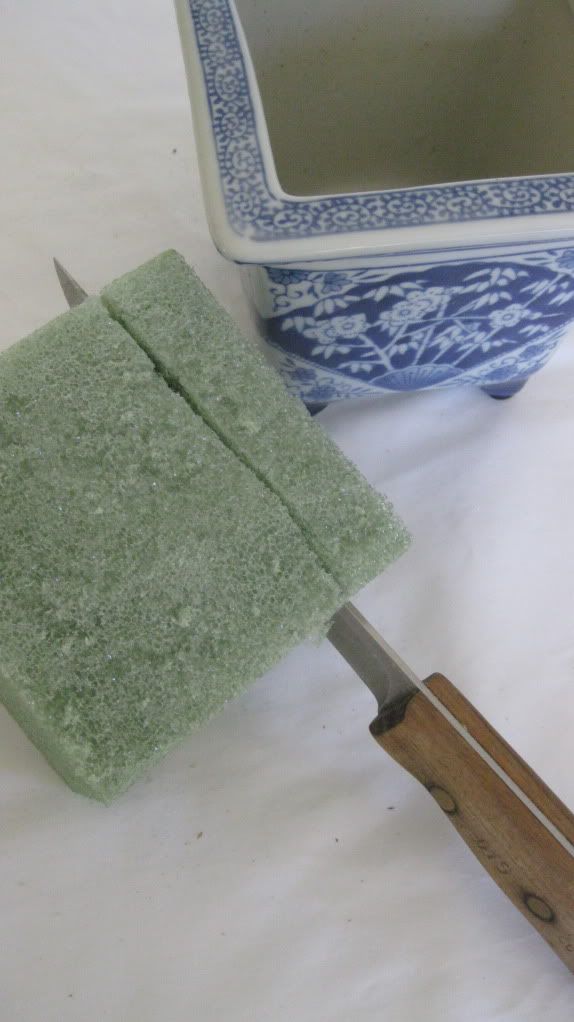 |
| Cut the foam. |
Cut floral foam to fill your container. If you make the foam fit snugly by stuffing additional wedges of foam into the container, you don't need to hot glue the foam into the container, and you'll be able to reuse the foam more easily.
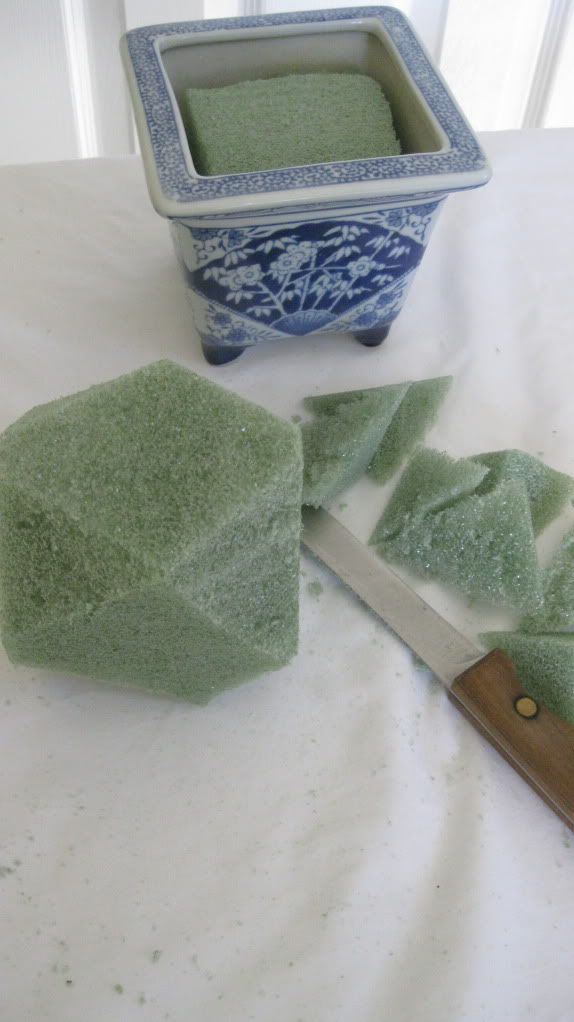 |
| Trim your floral base. |
If your floral foam is not a sphere (it's cheaper to buy in squares than spheres), trim the corners off a square of foam so you have a rounded cube.
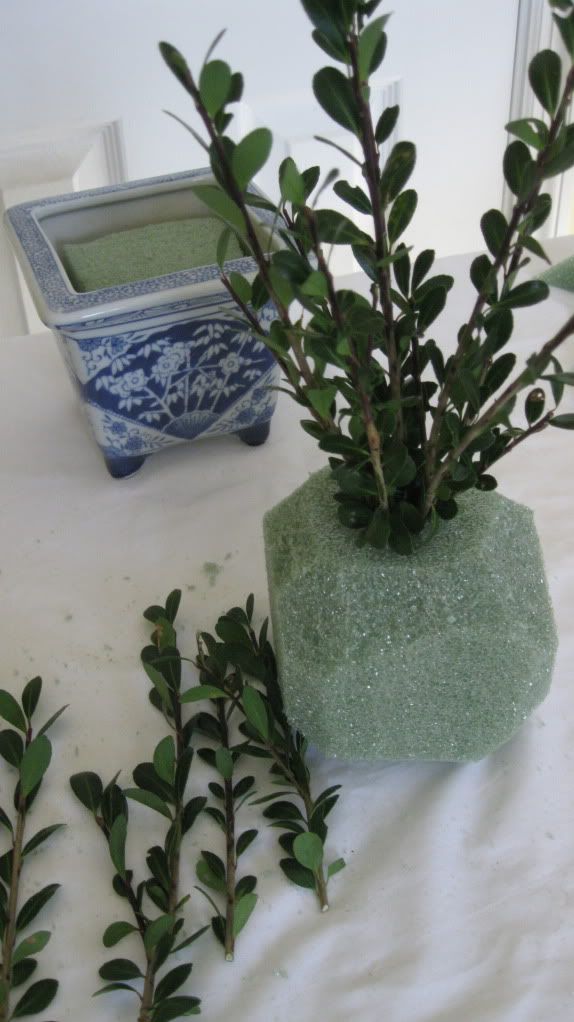 |
| Insert twigs into base. |
Begin sticking the stems of greenery into the foam, starting at the top and working down. Face the leaves all in the same direction to imitate the way twigs would grow. Cover the cube with greenery. You can omit the back if it will be positioned against a wall, and you needn't cover the bottom of the cube unless it will be placed up high.
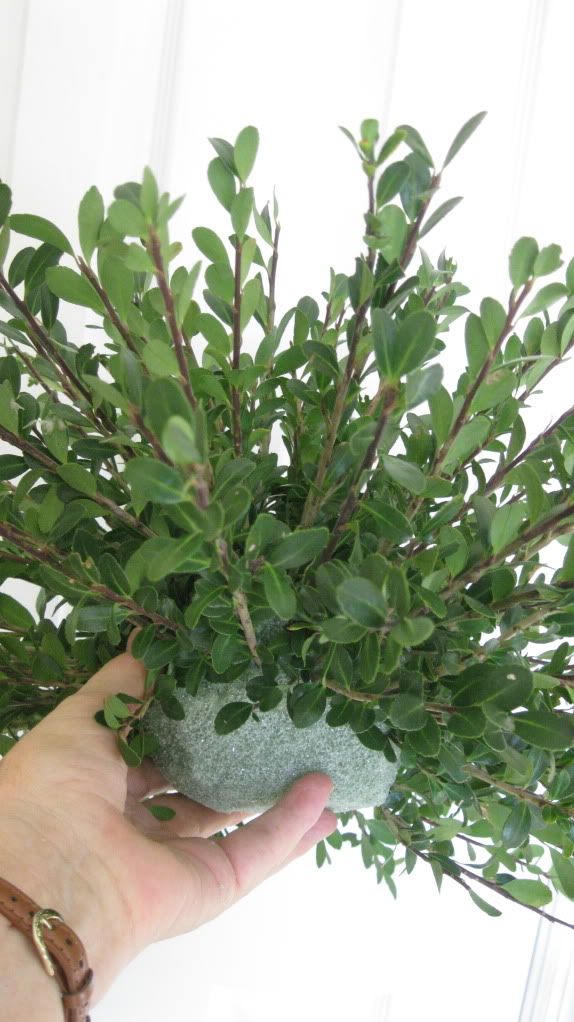 |
| Continue adding greenery. |
Insert your stick into the bottom of the cube. Insert the other end firmly into the foam in your container.
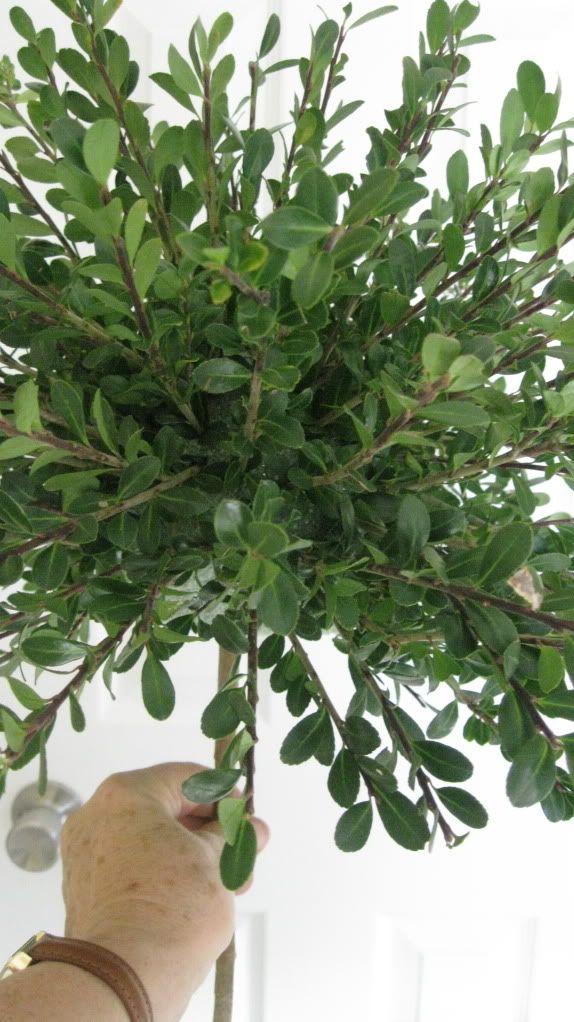 |
| Add the stem. |
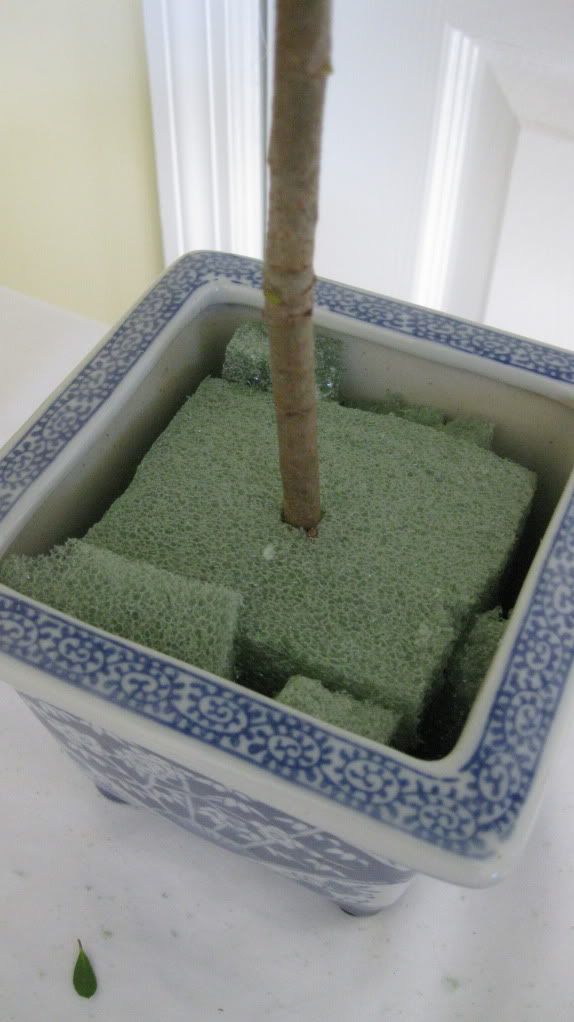 |
| Insert stem into container. |
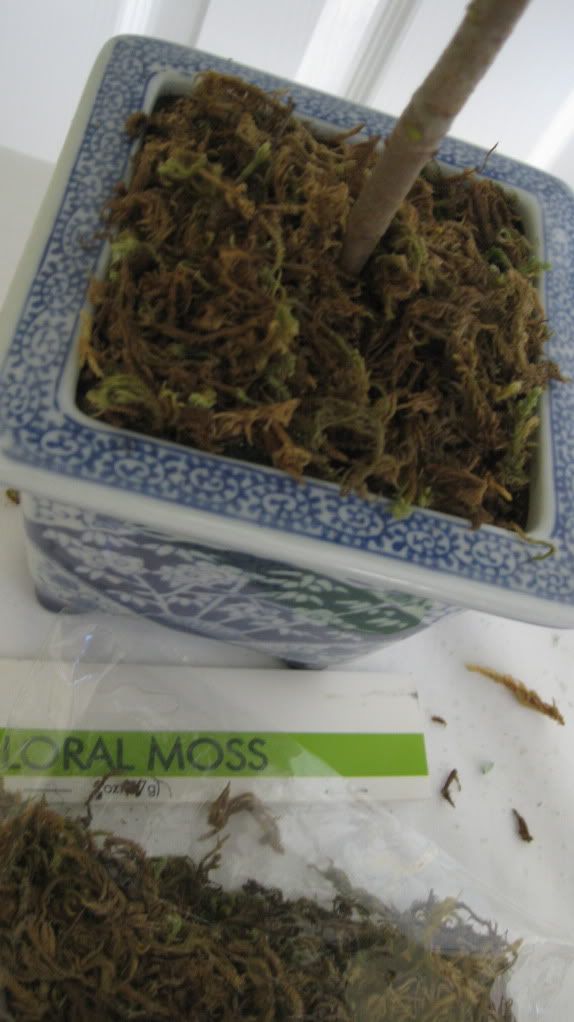 |
| Add moss to container. |
Cover the foam in the container with floral moss. This is when you get to see how professional your work looks! You can decorate your topiary with ribbons, lights, small ornaments, tiny toys, charms, or sprigs of holly with berries, as I did.
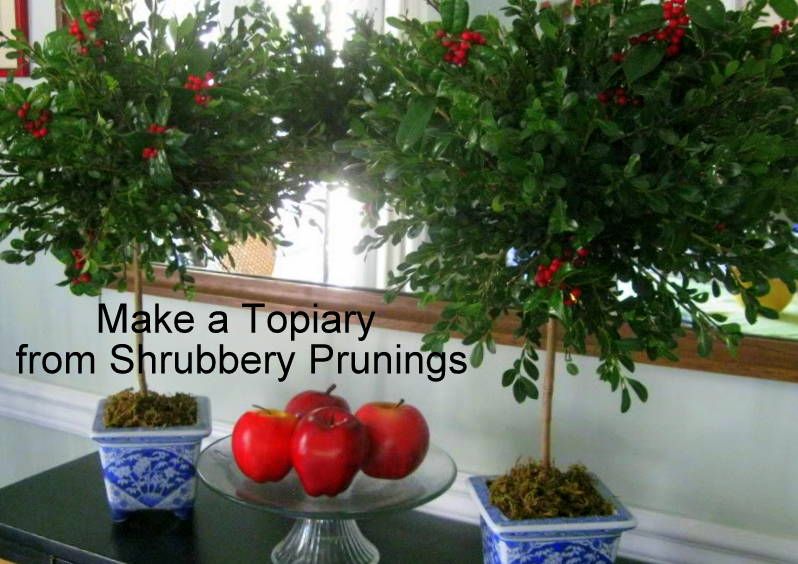 |
| I made a second topiary just like the first one. Using dry floral foam, the little trees made of boxwood stay green for a month. |
If you want more reasons to make a topiary, visit Save-on-Crafts.com and be inspired by their topiaries made from nuts, pine cones, candies, orange peels, and flowers. I'm seriously considering the Jordan Almond Pyramid Tree! You can order all your supplies from them.
My eBook, DIY Home Staging Tips to Sell Your Home Fast and for Top Dollar tells you how to decorate tabletops and mantels, and every other corner of your home for a look that buyers love. And you don't need to spend a lot of money!
A topiary -- or two -- could be just the ticket for giving one of your staged rooms some decor pizazz. Wherever you place these darling trees, they earn their keep. Now you know how easy it is to make a topiary of your own for staging.


No comments:
Post a Comment