
 |
| An old rolling cart gets a new life. This versatile piece of furniture could work as a portable nightstand, an end table, or a dry bar. |
So, I’m giving you my favorite pointers, based on mistakes I have seen inexperienced painters make when they tackle a DIY furniture repaint.
Common Mistake #1: Not planning ahead.
Make a projection. Have a general idea of the amount of time you’ll need to take the project from start to finish.
Will it be a one-day affair, or do you need to let paint dry between coats (always a good idea)? Will you have to stop mid-painting to pick up your children or start dinner? Will you have to move the project out of the way before it’s dry?
Will it be a one-day affair, or do you need to let paint dry between coats (always a good idea)? Will you have to stop mid-painting to pick up your children or start dinner? Will you have to move the project out of the way before it’s dry?
Schedule it right. Pick the right times; look for the perfect window.
Are the weather and other environmental conditions just right? Painting outdoors on a very hot day means your paint will dry too fast, so that keeping a wet edge will be difficult or impossible. You’ll have lap marks and a rough surface.
Spray painting in hot weather means the atomized paint will dry before it hits your target, so you’ll have a powdery finish.
Painting in windy weather means you’ll have dust and other debris in your finish.
Will it rain before your paint dries? Will the paint freeze overnight before it dries?
Are the weather and other environmental conditions just right? Painting outdoors on a very hot day means your paint will dry too fast, so that keeping a wet edge will be difficult or impossible. You’ll have lap marks and a rough surface.
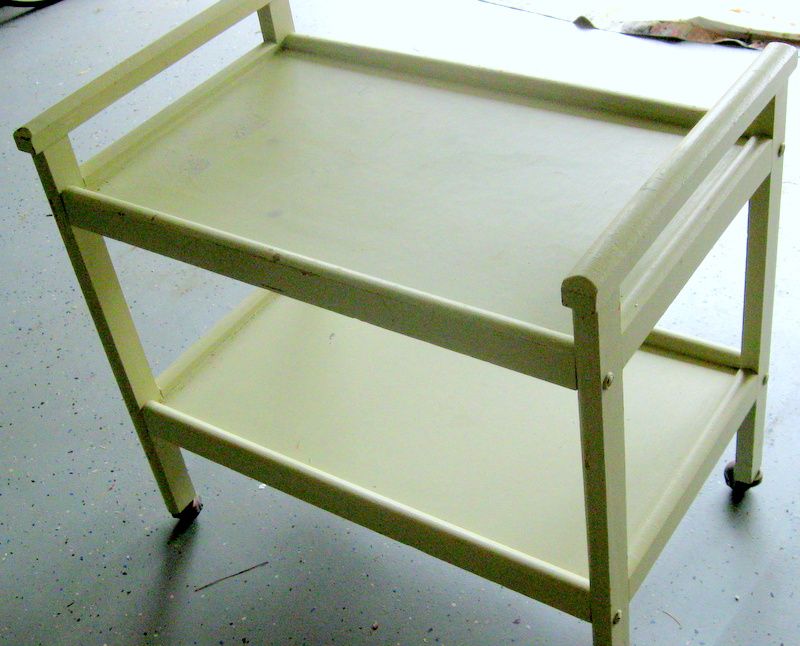 |
| Since I don't recommend a Shabby Chic look for home staging, I wanted my ancient "TV cart" to look fresh. Paint to the rescue. I worked in the garage, where there is more protection from wind and funny weather. |
Painting in windy weather means you’ll have dust and other debris in your finish.
Will it rain before your paint dries? Will the paint freeze overnight before it dries?
Gather essentials. Collect what you need.
Many projects are ruined when you don’t have the right equipment or supplies.
Do you have enough paint, and even more than you need?
Do you have the right brush(es)? A paint work bucket (not the can the paint comes in! Pulleeze!)? Paint can opener? Screwdriver to remove hardware? Sanding supplies? Tackcloth? Dropcloths? Any special solvent or other clean-up supplies? Rags?
 |
| A microfiber cloth makes a good tack rag, and an old brush makes a good duster. |
Many projects are ruined when you don’t have the right equipment or supplies.
Do you have enough paint, and even more than you need?
Do you have the right brush(es)? A paint work bucket (not the can the paint comes in! Pulleeze!)? Paint can opener? Screwdriver to remove hardware? Sanding supplies? Tackcloth? Dropcloths? Any special solvent or other clean-up supplies? Rags?
Common Mistake #2: Poor Prep
Prepping is to painting what foreplay is to sex: the more attention given it, the better the results.
Always sand a piece of furniture. Always. I don’t care if it is laminated faux wood. I don't care if the paint label says "sanding not necessary."
Sanding gives a surface “tooth,” something for the first layer of paint to bite into.
Sanding also removes loose dirt and other junk you don’t want to seal under fresh paint. There might be drips, runs and brush marks from a previous, poor paint job. Sanding minimizes or eliminates these little problems that make a big difference in your results.
Besides cleaning and smoothing the surface, sanding can soften the sharp edges of furniture to give it a more finished, quality look.
Sanding gives a surface “tooth,” something for the first layer of paint to bite into.
Sanding also removes loose dirt and other junk you don’t want to seal under fresh paint. There might be drips, runs and brush marks from a previous, poor paint job. Sanding minimizes or eliminates these little problems that make a big difference in your results.
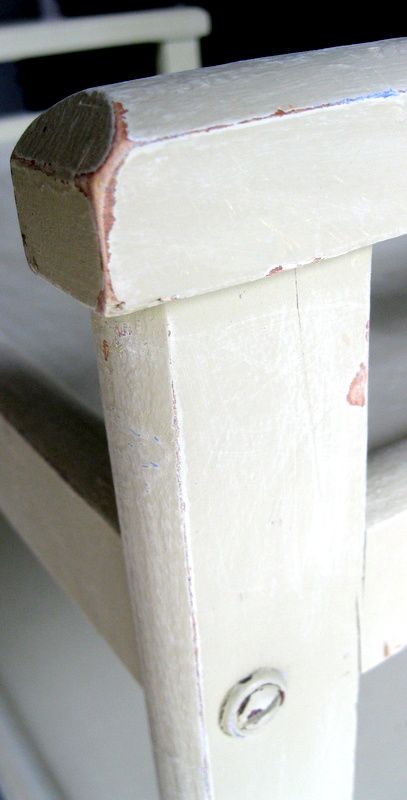 |
| Sanding removes mistakes the last painter made, and softens the edges. |
Besides cleaning and smoothing the surface, sanding can soften the sharp edges of furniture to give it a more finished, quality look.
Sanding between two new coats of paint is a good practice, as well. Sometimes the paint you are using has pieces of trash in it (especially if you used your paint can as a work bucket). Sanding between coats removes these minor imperfections, and smooths the surface for a better final finish.
Always clean. If your furniture piece is old, wipe it with a cleaner to remove things like nicotine layers, grease, wax, and embedded dirt. Then, let the piece dry completely.
Always prime. Although many painting projects don’t require it, a primer coat has advantages.
A primer bonds to whatever surface you put it on, so the paint will be more durable.
A primer can fill small scratches and gaps so your piece looks more custom.
A primer gives you a blank slate so you’ll notice repairs you might want to fix.
A primer can remedy discrepancies in paint, so you can apply a water-based paint over an oil- or lacquer-based paint with no fear of it creating “fish eyes” as it dries, or peeling after it dries.
Primers are designed to dry quickly, so don't use a time crunch as an excuse for skipping your primer. Just prime!
Dust. Remove the dust you created by sanding, with a tack cloth, a duster-brush, or a microfiber cloth.
What’s the point of sanding if you don’t get the sanding dust out of there?
Don’t sweep or shake your drop cloth to put dust in the air. Move the project to a clean area, and use a dust-free drop cloth.
What’s the point of sanding if you don’t get the sanding dust out of there?
Don’t sweep or shake your drop cloth to put dust in the air. Move the project to a clean area, and use a dust-free drop cloth.
Get rid of the extras. Remove hardware if practical.
It’s usually easier to paint furniture if you can strip it of knobs and handles. While they are off, you can clean or refinish them. I like to leave hinges in place and either tape them off, or paint carefully around them.
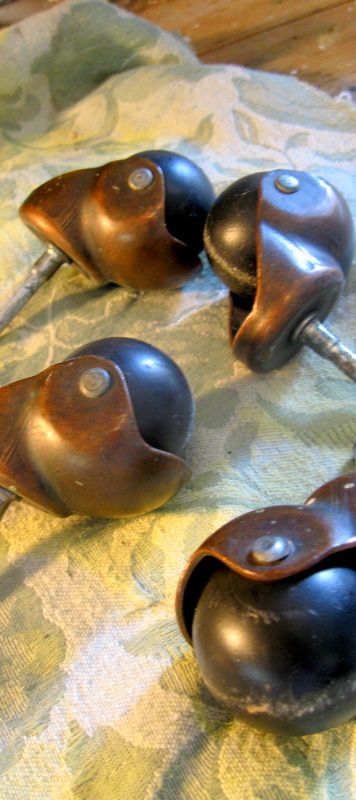 |
| Casters usually pop right off furniture. These showed signs of age and paint drips. |
It’s usually easier to paint furniture if you can strip it of knobs and handles. While they are off, you can clean or refinish them. I like to leave hinges in place and either tape them off, or paint carefully around them.
Common Mistake #3: Inefficiency
Before jumping in, consider the most sensible approach to your project.
For example, turn tables and chairs upside down, so you can paint the underbelly and insides easily. Who hasn’t painted a chair, and ended up with paint-covered arms from painting the insides of the legs last, reaching around wet paint to do it?
For example, turn tables and chairs upside down, so you can paint the underbelly and insides easily. Who hasn’t painted a chair, and ended up with paint-covered arms from painting the insides of the legs last, reaching around wet paint to do it?
Move it. If possible, elevate your project to make it easier to work on. You’ll be able to see what you are doing and you’ll be more comfortable working without bending over.
Have a system. You’ll avoid wasted motions and “holidays” if you pay attention to the method you use. Paint smart. Work in a planned pattern that makes sense to you and is appropriate to the piece of furniture.
For example, if you have dresser drawers, remove them from the dresser, paint them, and place them where they won’t be in your way.
If you’re painting a bookcase, lay it flat on a table so you can walk all around it, and follow the same order for each shelf: back, sides, top, then bottom, for example.
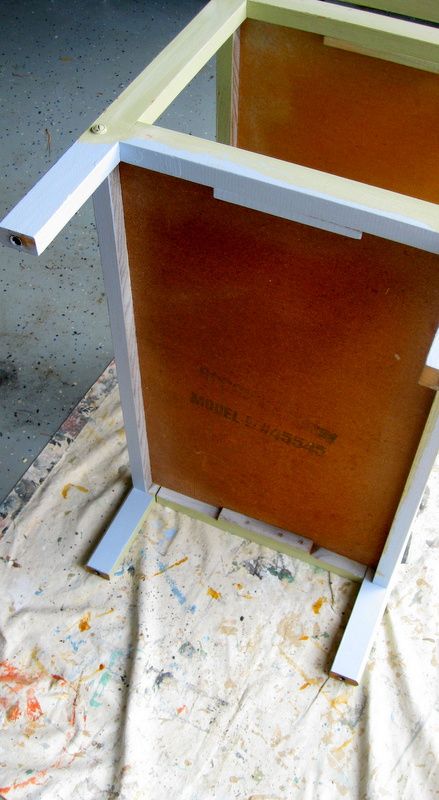 |
| Just the way I did when I painted plastic flower pots, I started my repaint by turning the table upside down. |
Have a staging area. Keep your supplies close at hand, and when you use something, replace it in the same pocket or the same spot nearby, so you don’t waste time hunting for it when you need it again.
This way, you won’t hear yourself mumbling, “Where did I put my rag?!” or “Where's the screws?!” or "Who stole my gloves?"
Clean up.Don't save it for the next day, even if you plan to paint again tomorrow.
Schedules change, plans are forgotten, life takes over.
Cleaning up is part of being efficient, so that the next time you want to paint, you’re ready.
Whether you use a roller, brushes, a sprayer, or spray cans, leave your equipment, including paint, work bucket, dropcloths, and sanding supplies ready for their next job.
DIY Furniture painting can rescue old, inexpensive, or favorite pieces. Even if you are not staging a home right now, knowing how to repaint a piece of furniture is a handy skill any decorator or DIYer should practice. Do a sloppy paint job, and that bargain dresser will still look like a garage sale find, but a careful paint job will upcycle it into a prize to be proud of.
Home staging counts on fewer pieces of furniture than we ordinarily live with. That means each piece has to earn its keep by adding to the style and appeal of your rooms. You can elevate even pathetic hand-me-down furniture into pieces that earn their way, just by painting them the right way.
Many of these same tips for painting furniture can be applied to other DIY projects, like paining doors, lamps, or cabinets.
For more smart tips to help you stage your own home for sale, download my $5 ebook, DIY Home Staging Tips to Sell Your Home Fast and For Top Dollar.
Schedules change, plans are forgotten, life takes over.
Cleaning up is part of being efficient, so that the next time you want to paint, you’re ready.
Whether you use a roller, brushes, a sprayer, or spray cans, leave your equipment, including paint, work bucket, dropcloths, and sanding supplies ready for their next job.
DIY Furniture painting can rescue old, inexpensive, or favorite pieces. Even if you are not staging a home right now, knowing how to repaint a piece of furniture is a handy skill any decorator or DIYer should practice. Do a sloppy paint job, and that bargain dresser will still look like a garage sale find, but a careful paint job will upcycle it into a prize to be proud of.
Home staging counts on fewer pieces of furniture than we ordinarily live with. That means each piece has to earn its keep by adding to the style and appeal of your rooms. You can elevate even pathetic hand-me-down furniture into pieces that earn their way, just by painting them the right way.
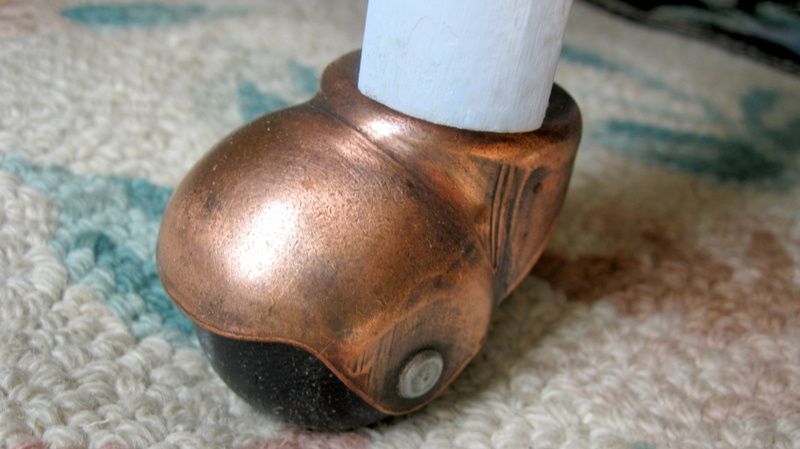 |
| When I cleaned the casters I discovered they were solid copper! I think they added just the right vintage touch to this old rolling cart. |
 |
| This bedside table has sported a variety of colors over the years. If I had painted it hastily each time, the multiple layers of paint -- with their drips and rough spots -- would be obvious. Done carefully, it looks like a new factory finish. |
Many of these same tips for painting furniture can be applied to other DIY projects, like paining doors, lamps, or cabinets.
For more smart tips to help you stage your own home for sale, download my $5 ebook, DIY Home Staging Tips to Sell Your Home Fast and For Top Dollar.


No comments:
Post a Comment