
 |
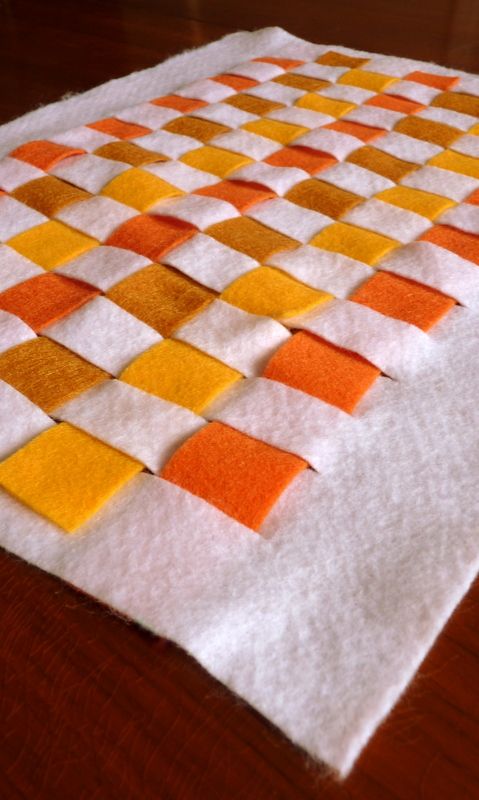
| Here's a DIY tabletop project anyone could have fun with. You just weave strips of felt in your choice of colors through a rectangle of felt that's been sliced. |
Orange is my favorite color and I'm guessing that many people are attracted to it, since Tangerine is Color of the Year 2012.
Having some hints of orange -- or Tangerine if you want to get all fancy with names -- will give your home some warmth.
And a touch of trendiness too, because let's face it: you didn't see Tangerine in the color palettes of the 80's, 90's, or 00's.
I chose shades of tawny brown, gold, and pumpkin to make these placemats look autumnal.
That's another thing to love about oranges. They're "in season" now that summer's over.
These mats are made of felt. Felt doesn't require hemming. And felt comes in oodles of pretty colors. Also, felt is relatively cheap, as fabrics go.
What You Need
These materials will make four mats.
- Felt by the yard, about half a yard
- Felt by the piece, 12 pieces, as many different colors as you like. I used three colors.
- Scissors, good sharp ones
- Rotary cutter and self healing cutting mat (optional)
- Marking pen for fabric
- Metal yardstick
- Fabric glue
How to Do
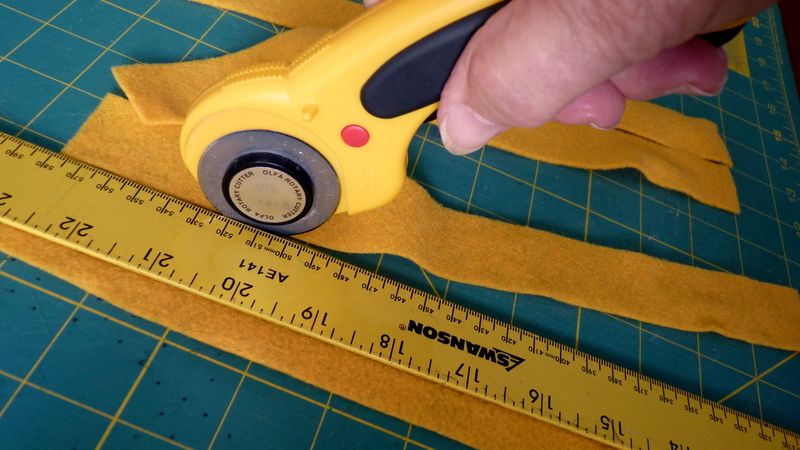 |
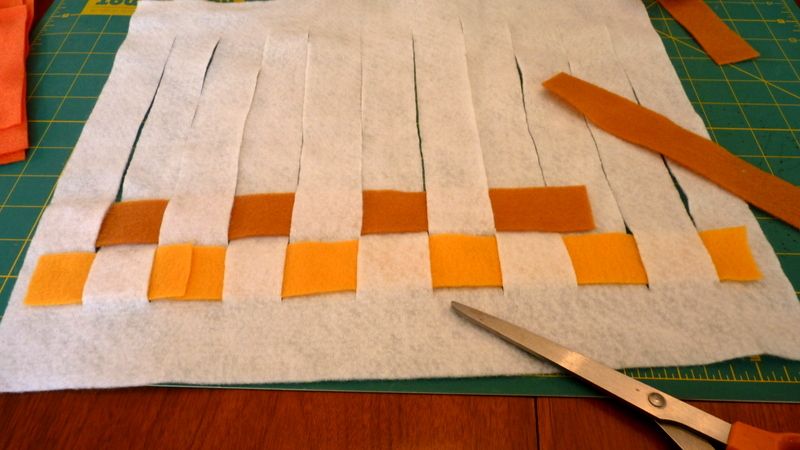
| Cut the 9- by 12-inch squares into 1 1/4-inch wide strips, 12 inches long. You can use scissors or a rotary cutter like this. It's important to make straight, even cuts or the mats will look like a summer camp craft project! If using scissors, keep the bottom blade flat against the work surface, and make small cutting motions rather than trying to keep a straight line by cutting with one long motion. |
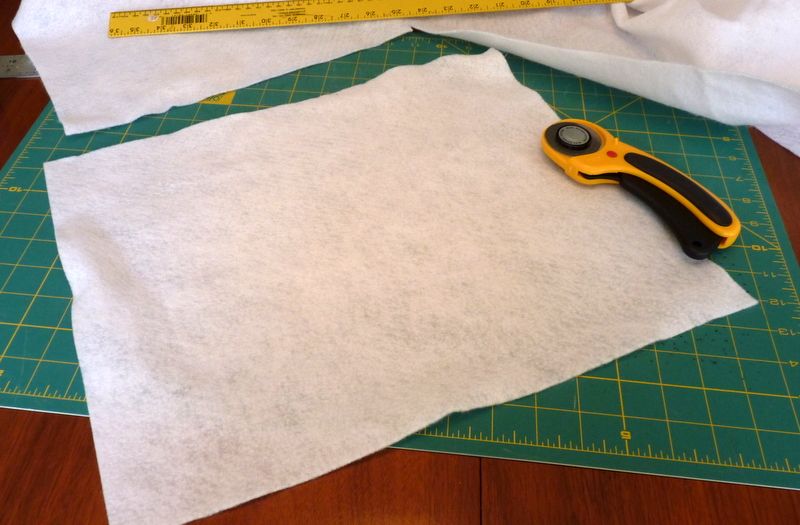 |
| Next, cut a piece of felt the size of a placemat. My piece measured 16 by 13 inches. Work in good lighting, take your time, and keep the edges clean and sharp. I used a rotary cutter with my self-healing cutting mat, but scissors will work almost as well. This background piece will act like a loom for your woven placemat. |
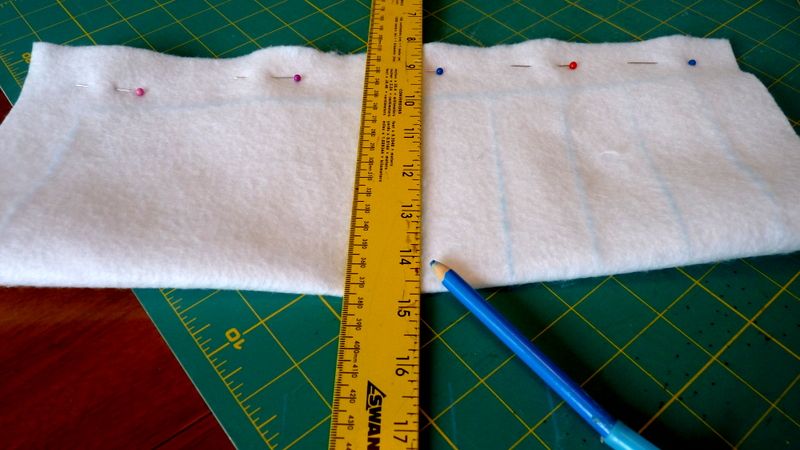
Fold the placemat in half lengthwise, and pin it along the cut edges to hold them in place.
Using the fabric marker, mark lines crosswise at 1 1/4 -inch intervals. Leave an
uncut border at both ends and along the lengthwise edges, as shown.
uncut border at both ends and along the lengthwise edges, as shown.
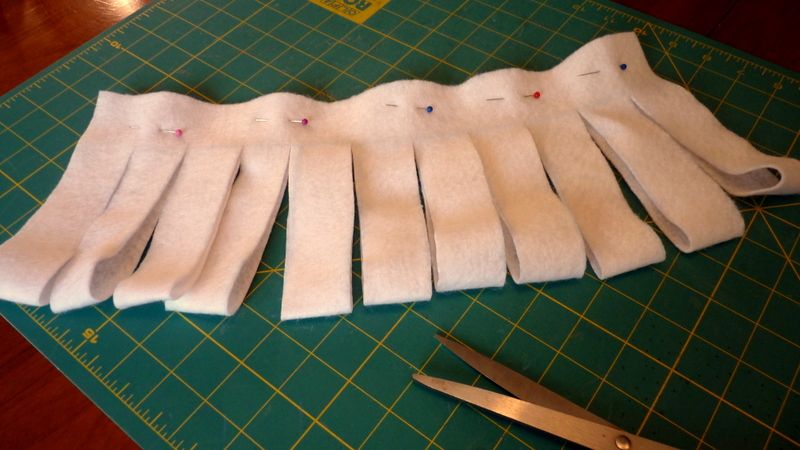
Cut on the lines you marked, ending the cuts evenly on the lengthwise line.

This is what your felt placemat will look like when it is unpinned and opened.
This piece now provides the "weft" or the crosswise strips for weaving, held in place
by the perimeter, which serves like the loom. The colored strips of felt
will provide the "warp" or the lengthwise strips.
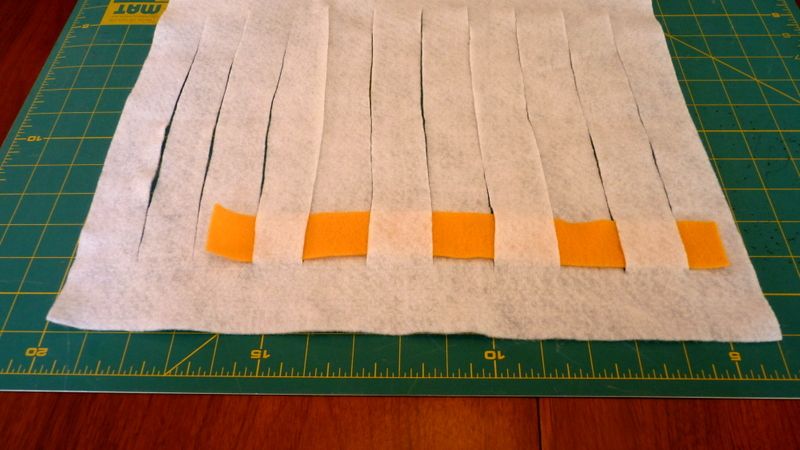
Begin weaving your first strip of felt up and down through the crosswise strips of felt.
It won't go all the way to the end, but we'll piece it and glue it and it won't show from the front.
Cut a piece of felt long enough to finish the row with an inch to spare for overlapping and adjusting.
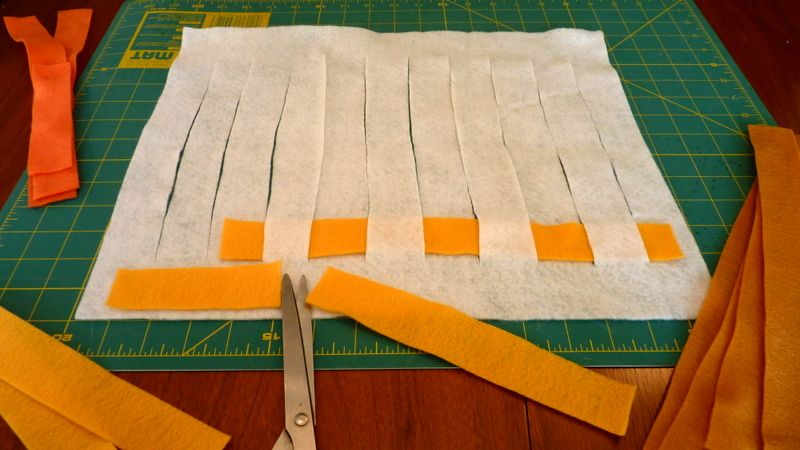
If you like, you can change the color of any strip for a different look, even midway across the mat.
Overlap the pieces and press with your fingers to hold in place temporarily.
Start the next row with a different color. Don't bother to square up the ends.
You can do that when all the felt strips are in place. Keep the mat flat and resist the temptation
to flip it over to examine it. Working on a board that can be rotated makes it easier.
You can do that when all the felt strips are in place. Keep the mat flat and resist the temptation
to flip it over to examine it. Working on a board that can be rotated makes it easier.

Once all the placemat is covered with strips of felt, use a fabric glue like Liquid Stitch
to join the strips that were pieced together. Keep all these glued connections
on one side of the placemat, which will be the back of the mat.
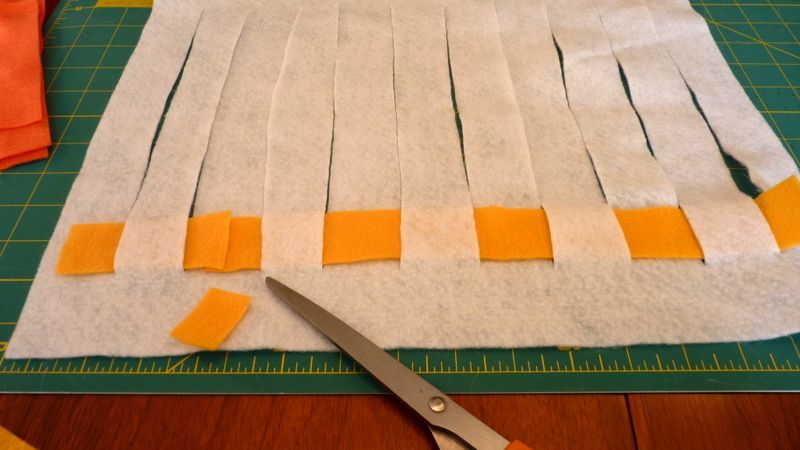
You can slide the strips to the left and right to adjust the placement of the
glued overlap, and then trim off any felt strips on the two outside edges to make them all even.
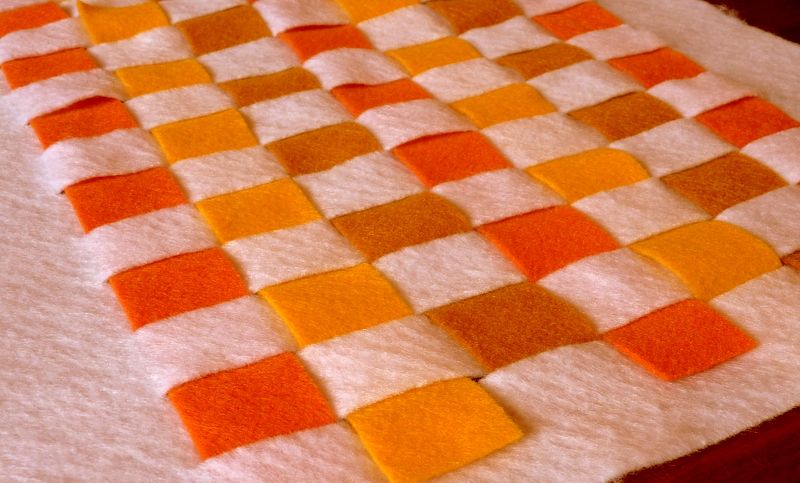
Let the glue dry for 24 hours. Flip the placemat over and admire your finished product.
You will find felt very forgiving and pleasant to work with.
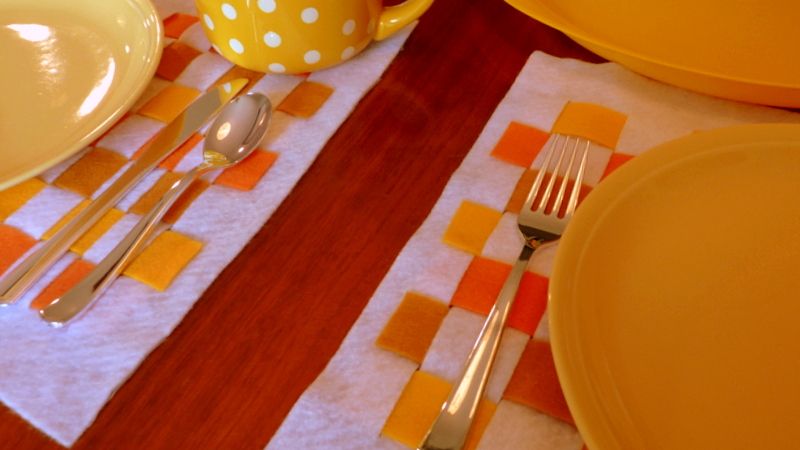
Although I generally advise against setting a table in the staged home with real cutlery
because it is too tempting for people to steal it, I discovered these
disposable silverware sets that don't look like disposables, at the dollar store.
They are so lightweight that if anyone picks one up, he'll immediately realize it is plastic
and leave it there. If he takes it, well, one dollar buys you four three-piece settings!
I staged this tabletop for an autumn Open House, but by changing the colors, you can make holiday or springtime or birthday or picnic or wedding or any occasion placemats. The Liquid Stitch didn't stand up to washing, so unfortunately these mats aren't for ongoing usage. A stain and water repellant like Scotchgard can extend their life, but basically, the placemats are suitable for staging or limited use only.
A bare table in a staged home usually begs for some decoration. Why not stage your tabletops to make people touring your home see that you're tuned in to the changing seasons, and that you enjoy living in your home?
Do you want more ideas for staging your home for sale? Download my $5 eBook, DIY Home Staging Tips to Sell Your Home Fast and For Top Dollar.


No comments:
Post a Comment